Get started
Sign in, authorize Direct, go live from a phone or browser, and optionally add OBS.
1. Sign in
Open visp-stream.com, press Try VISP free, then sign in with Twitch, Kick, or Google. VISP uses that login only to identify your account.
2. Authorize Direct
The setup wizard asks three things:
- Where do you go live? Choose Twitch, Kick, or YouTube. Somewhere else skips Direct and sends the feed to OBS instead.
- How will you send video? The VISP app is recommended. The browser publisher and third-party encoders are under Use something else.
- Authorize streaming so VISP can resolve the destination when output starts. Twitch and Kick keys are never shown to the publisher or stored as separate values. YouTube Direct creates a new public broadcast and uses its ingest destination.
Already know your way around? Skip setup, go to dashboard on the first screen skips the wizard. You can switch between Direct and OBS later from the Mode: Direct · change menu at the top of the dashboard.
3. Publish from a phone or browser
The last setup screen creates your stream links. Install the native app or open the browser publisher, sign in with the same account, allow camera and microphone access, and press Go Live. VISP checks provider authorization and relay encoder capacity before capture starts.
4. Verify Direct
The same screen runs Test your connection. Wait until the platform output reports Platform output is live. A contribution feed connected to the relay is not enough. You may skip this test, but the setup remains marked unverified. Choose Finish to open the dashboard.
5. Optionally add OBS
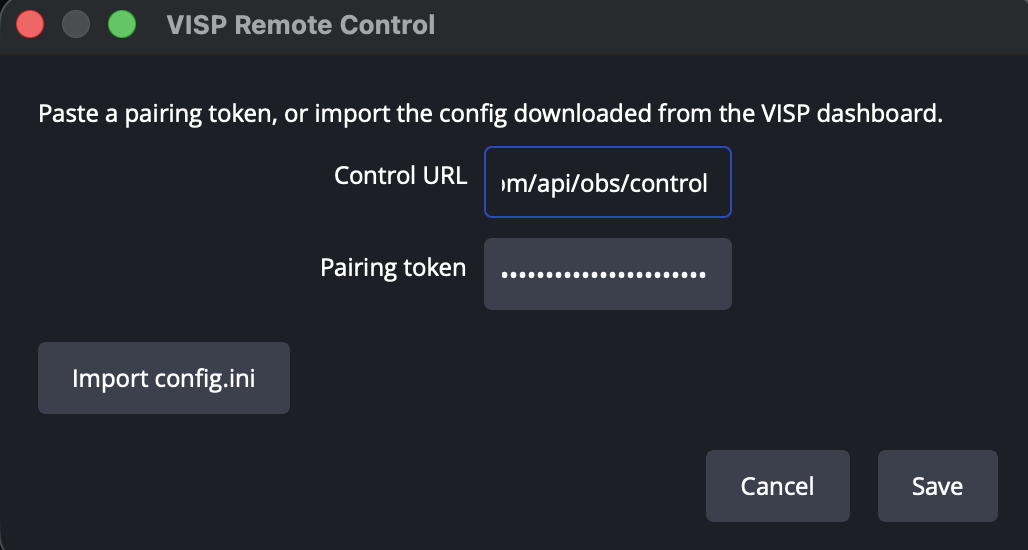
OBS is not needed for Direct. If you want it for monitoring, recording, or scenes, open the dashboard Destinations tab and use OBS read credentials. Install and pair the OBS Studio 31 plugin for one-click Media Sources, or copy the SRT read URL into an OBS Media Source manually. OBS receives the contribution feed, not the distribution encode delivered to viewers.
- Download the package for your OS from the project's GitHub Releases, install it, and restart OBS.
- In OBS, open Tools → VISP Remote Control and click Sign in with browser.
- Sign in to VISP, approve the displayed code, and return to OBS.
- Under Publishing devices, choose Add to scene for the device you want.
Publisher details
Phone app
Install the iOS (App Store) or Android (Google Play) build from the download page. Sign in with the same Twitch, Kick, or Google account. The app creates a publishing device for that phone automatically.
Pick the camera and microphone in settings, confirm READY, then tap Go Live.
Browser app
Prefer a quick test without installing? Open stream.visp-stream.com in current Chrome, Edge, or Safari, sign in, and publish over WebRTC.
Confirm the optional OBS picture
With the phone or browser live, select the scene that holds the device's Media Source in OBS. The Media Source should show your camera feed. If the preview is black, wait a few seconds for SRT/WebRTC to connect, then check that the matching device shows Live on the dashboard Devices tab.
The OBS chat overlay Browser Source stays blank until a chat message arrives;
append &debug=1 to its URL to show connection status.
Control optional OBS from your phone
When the plugin is paired, the phone app can switch scenes and start or stop the home OBS stream. Open the OBS control UI, pick a scene (for example Scene or Fallback), and confirm the change in OBS within about two seconds.
You can also open remote.visp-stream.com in a browser for the dedicated OBS Remote control surface.
With Direct, you can optionally turn on a BRB card on the dashboard BRB tab (off by default) so the relay holds the broadcast on it while the phone reconnects. With OBS, keep OBS on a fallback scene instead — see Encoders and fallback for Advanced Scene Switcher macros.
What next
- Phone and browser app — chat overlay, stream info, Watch companion, and troubleshooting.
- OBS remote control — security model and pairing recovery.
- Encoders and fallback — Larix/Moblin, SRT latency probe, and automatic scene switching.
- Self-hosting — run your own relay instead of the hosted beta.